Today we are going to learn how to install secondary operating system to be helpful in emergency situations. This post focuses on how to install puppy Linux on an usb storage device on windows platform. Step by step procedure to install puppy Linux operating system on an usb storage device.If you want to view screen shots offline/ better view just drag them to a new tab in your browser and download/save them and view them in detail.
Things needed
Usb storage device (like pen drive, external hard disk, flash drive) with a minimum storage size of 1GB.
Personal computer / Desktop /Laptop /Notebook/ Net book.
Important:
This guide shows step by step procedure to install puppy Linux on pen drive in windows environment.
The same procedure will be applicable on the following windows versions
Windows XP
Windows NE
Windows Vista
Windows 7
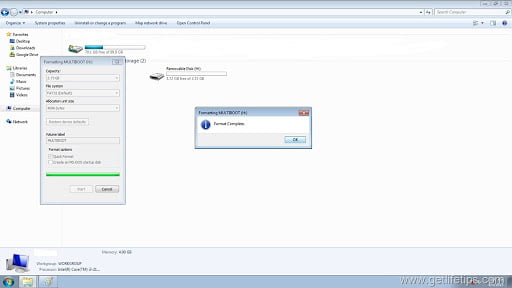
Step3: Format your usb storage device.
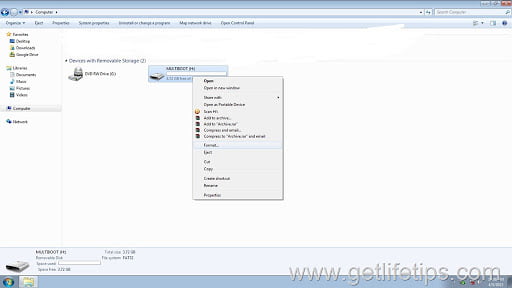

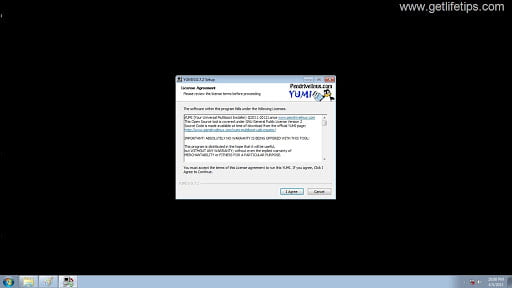
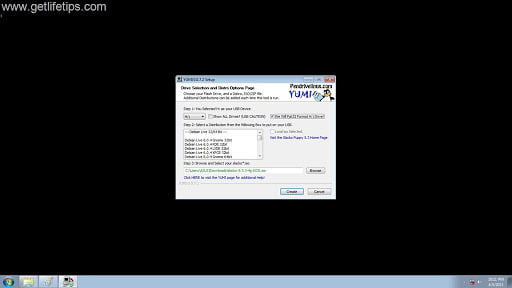
Step3: Run Software downloaded on Step1.

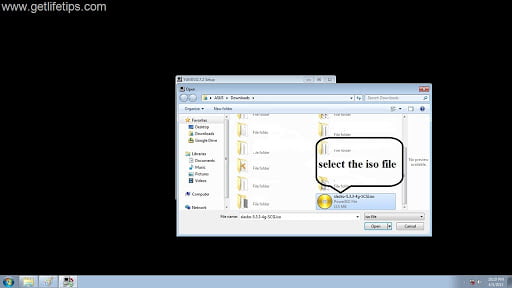
Step4: Select the ISO Downloaded in Step 2.

Browse and select the downloaded file.

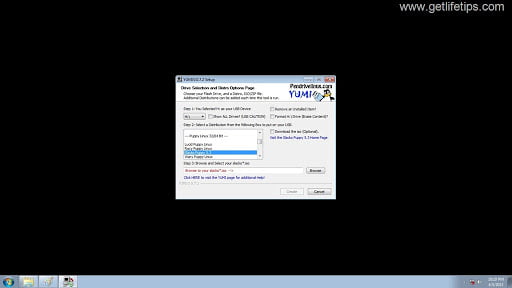
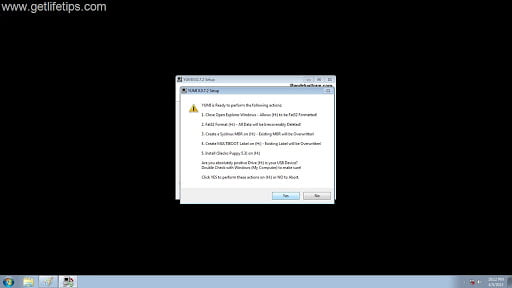
Step5: Select the drive letter of your usb storage device ( here H:),Select Format option,and click Create.

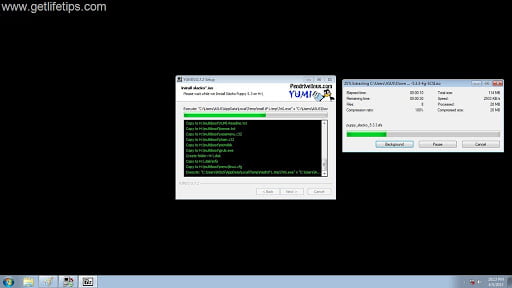
Step 6: Continue the installation process.Make sure you have some un compressing software installed on your computer like 7Zip,winrar,Win Zip etc..We recommend 7 Zip its free.


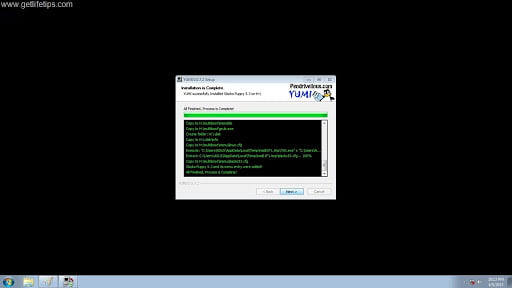
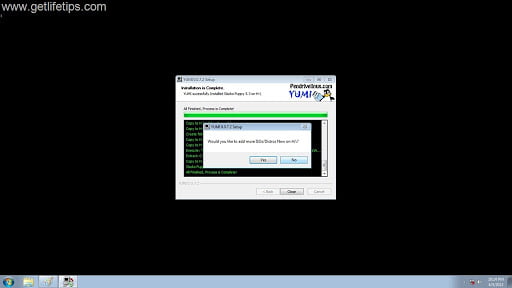
At this point of installation select NO, as we are using this to install only one operating system.

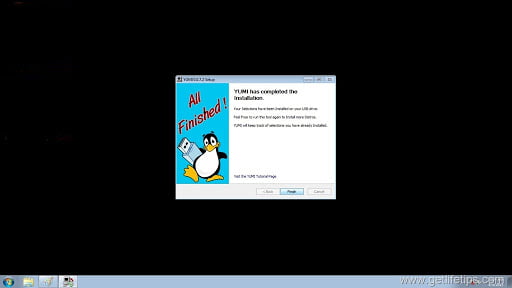
Step 7:Finish the installation and safely remove your usb flash/pen drive. This ends the main part of the process.

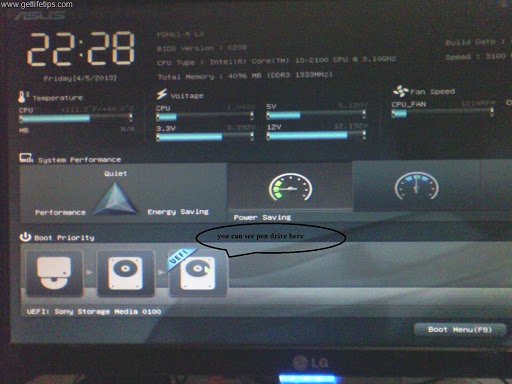
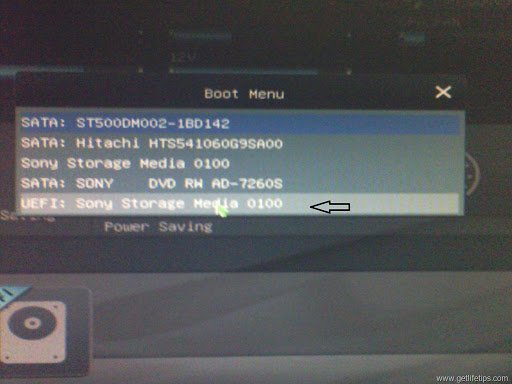
Step 8: This is the most important step in the second part,As we discussed in the beginning if your computer supports usb booting option,you should configure it.Prior to booting. Some systems offer instant selection (as in our case). This part will vary depending on the manufacturer. We used on our Asus mother board custom build CPU bios its rich GUI bios is pretty simple.We just needed to press DEL key and viola everything is simple.You should contact your system manufacturer/custom build engineer on the ways to access the bios.Most Intel based mother boards support F11,F12,F8,DEL,F6,F1 keys to access bios. We can’t provide you which key is the correct one for accessing your bios. Always be careful when editing/configuring bios,simple misconfiguration can land you in troubles.Also look up the manufacturer support page on their website for the access keys.
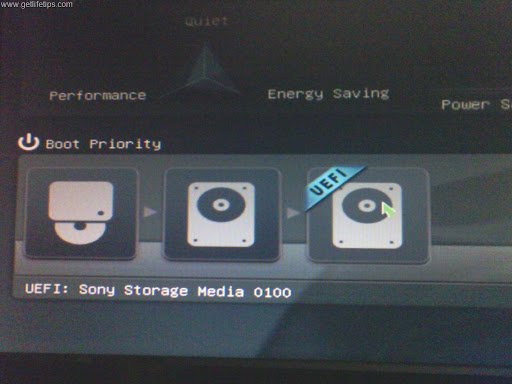
Select Boot menu (F8) in case of Asus mother board like us.And Select the Storage Device(Its Sony pen drive in our case).

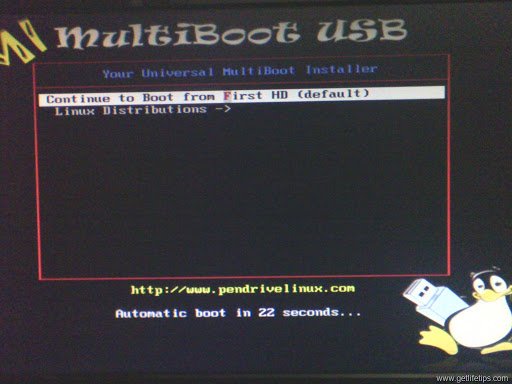
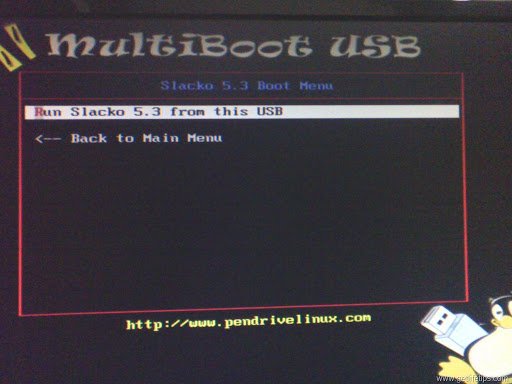
Step9: After Selecting the boot device the boot screen will display this it is common for all the systems.It is the custom boot menu displayed only when booting from pen drive don’t worry No changes are done to your computer boot menu.
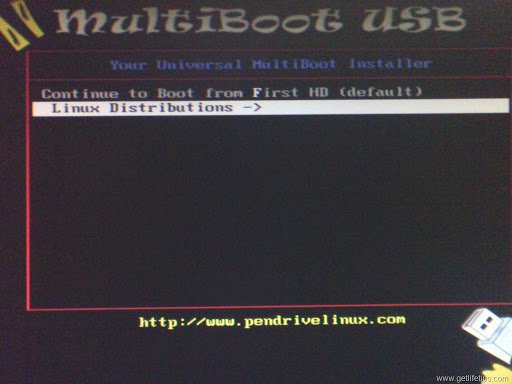
Step 10: Select Linux Distributions and Hit Enter.

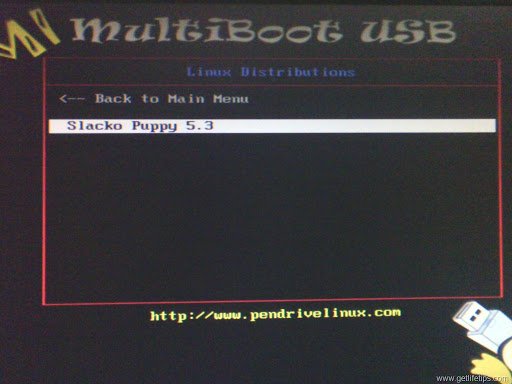
Step 11:Select your Linux Distro (Here Slacko Puppy in our case).


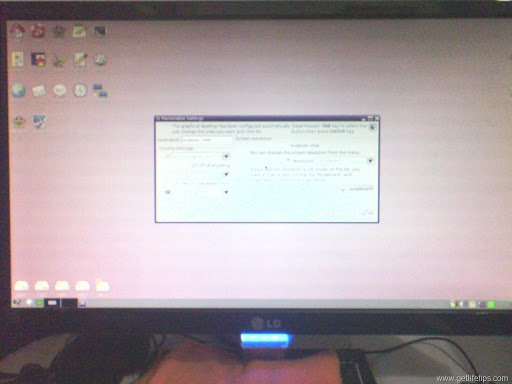
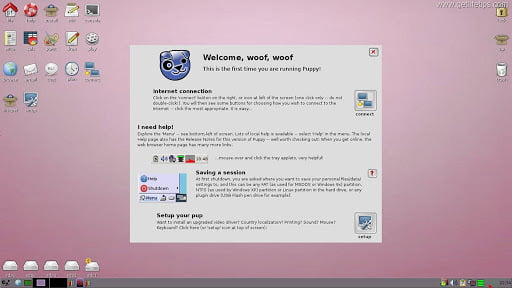
If everything goes well (90% of systems encounter zero errors) You will see this screen.(in case of slacko Puppy).

Step 12: Congratulations you are now successfully running puppy Linux from usb.

What next ? Use Puppy Linux to find virus infected files in your computer and remove them,is your windows insecure (without anti virus) use puppy Linux to browse internet,carry your files wherever you go,just insert the usb and work safely.
If you like this how to guide,bookmark our website.Share the page on Facebook,Twitter.Email this to a friend and do more.
Thanks for reading and if you have any queries throw them in comments below.
http://www.getlifetips.com Some Rights Reserved,Contents sharing and distribution should be done only under creative commons license.
